Staff Ordering System Setup Guide
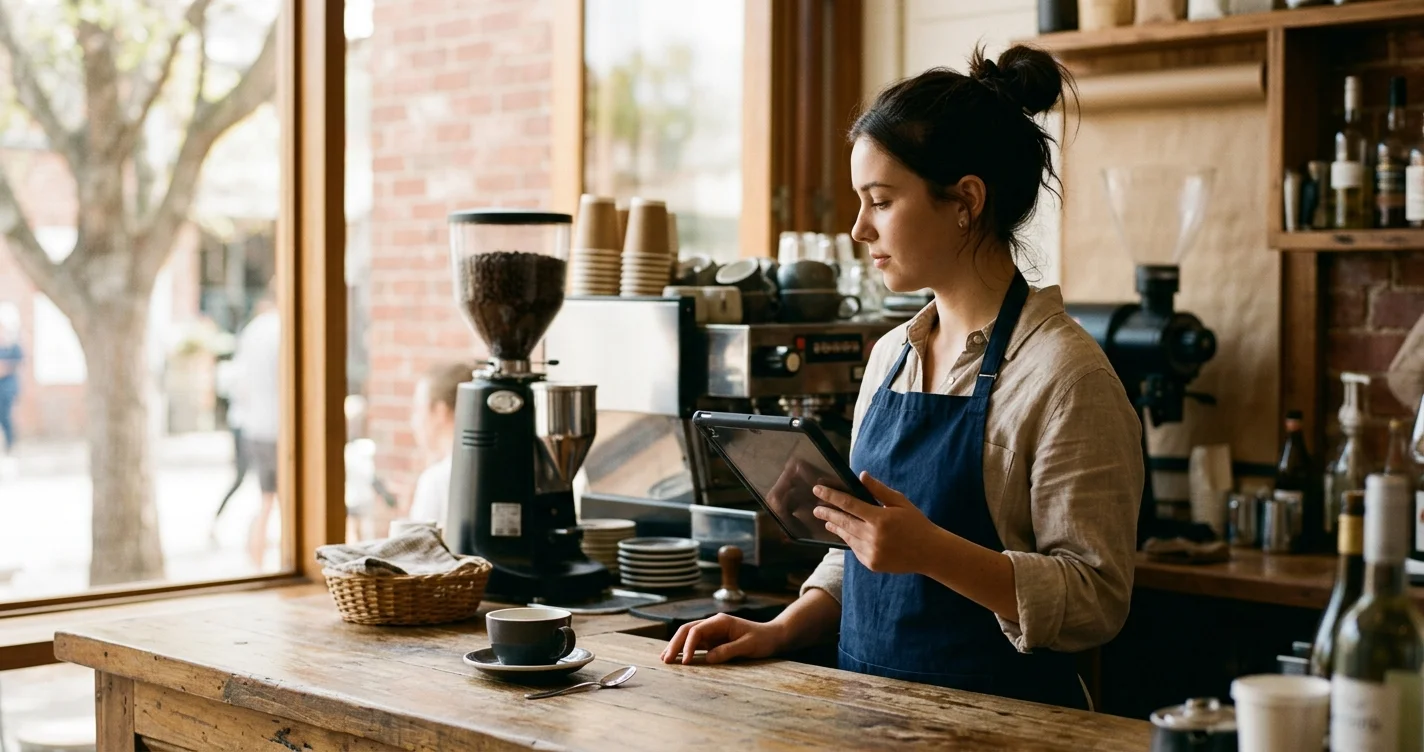
I build MenuMog, so treat this as the maker's own setup guide — including the parts that are usually left out of one. MenuMog's ordering system is two web pages and a PIN: one page your staff use to take an order at a table, one page the kitchen watches. It is not a till, it does not talk to your POS, and it has no staff logins. If that is the shape you need, you can have it running before your next service, and it costs nothing today.
What you are actually setting up
Two URLs. Both are ordinary web pages that work in any modern browser, on any device you already own:
- The ordering page —
menumog.com/order/your-venue. Pick a table, tap through the menu, send the order. - The kitchen display —
menumog.com/kitchen/your-venue. Unlocked once with a 4–6 digit PIN you choose. New orders arrive on their own; nobody has to refresh anything.
That is the whole system. There is no app to install, nothing to configure on your network, and no hardware to buy beyond a screen you can see from the pass.
What you need before you start
- A MenuMog account (free — see the end of this post).
- A menu built in MenuMog. If you have not made one yet, that is step 1 below.
- One device for the floor: a tablet or a phone, whatever your staff will actually carry.
- One screen for the kitchen: a tablet, an old laptop, a monitor on a stick — anything with a browser.
- Wi-Fi that reaches both. Orders travel over the internet, so a dead connection means a dead board. There is no offline mode.
Step 1 — Build the menu
Everything else hangs off the menu, so do this first. In your dashboard, create a menu and give it a title and a currency. Then add categories — Coffee, Breakfast, Cocktails, whatever matches how your staff think — and put items inside them with a name, a price, and optionally a description, a photo, allergens and dietary tags.
Two things worth knowing now rather than later:
- The menu's currency is what every order is priced in, so set it before you take real orders.
- There is no menu import. No CSV, no spreadsheet, no sync from another system. You type your menu in once. For a café-sized menu that is an hour with a coffee; for 300 items it is an evening. I would rather tell you that now than have you go looking for an Import button that does not exist.
Step 2 — Create the venue
A venue is the thing that turns a menu into an ordering system. Go to Venues → Create New Venue and fill in:
- Name — "Main Floor", "Beach Bar", "Terrace". Yours, not the customer's.
- URL slug — lowercase letters, numbers and hyphens only. This becomes both of your addresses:
/order/<slug>and/kitchen/<slug>. It has to be unique across MenuMog, so short and obvious names may already be taken. - Menu — which menu this venue serves.
- Table count — defaults to 10. The ordering page shows exactly this many tables, and an order for a table number above it is rejected, so count your actual tables.
- Kitchen PIN — 4 to 6 digits, numbers only. This is what unlocks the kitchen display. It is stored hashed, so nobody can read it back out later — including me. Write it somewhere.
- Ordering enabled — leave it on. Switching it off refuses new orders, which is the correct thing to do when you are closed.
Step 3 — Open the two screens
On the floor device, open menumog.com/order/your-slug. You will see your tables. Tapping one opens the menu, and the items you add build a cart for that table.
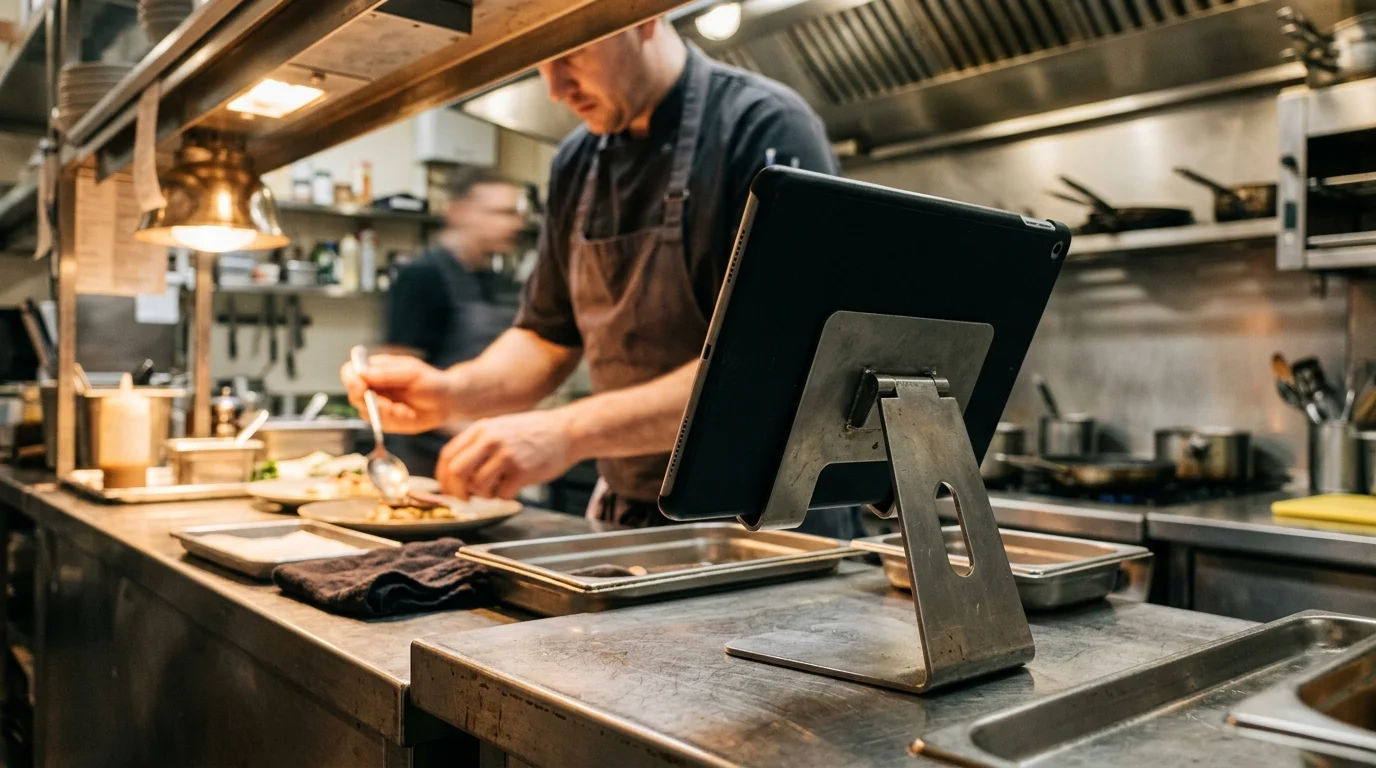
On the kitchen screen, open menumog.com/kitchen/your-slug and enter the PIN once. Then put the browser in full screen (F11 on Windows and Linux, Cmd-Ctrl-F on a Mac) and turn off auto-sleep on the device, or the board will be black exactly when you need it.
If the kitchen tablet is going to live on the wall, most tablets have a kiosk or guided-access mode that locks them to one page. Turn it on. It prevents the single most annoying failure there is, which is somebody swiping away from the display at 7pm.
Step 4 — Run one test order before service
This takes two minutes and it is the whole difference between a calm first shift and a loud one.
- On the floor device, pick a table and add two items.
- Send the order.
- Watch it land on the kitchen display.
- Move it through the statuses on the kitchen side and watch the floor device follow along.
An order goes Pending → Confirmed → Preparing → Ready → Completed, and can be Cancelled at any point. Individual items have their own state as well, so if the drinks are up and the food is not, the kitchen can mark just the drinks ready instead of pretending the whole table is done.
Order numbers restart every day, per venue. Tomorrow morning's first order is #1 again — which is the number your staff will call across a kitchen, so it matters that it stays small.
Who can do what: one PIN, not staff accounts
This is the part other setup guides would dress up, so plainly: MenuMog has no staff accounts, no roles and no permissions. There is your owner login, and there is one kitchen PIN per venue. That is the entire access model.
What follows from it:
- Anyone who has the ordering URL can place an order on that venue. Treat the address as semi-private, and switch ordering enabled off when you are closed.
- Everyone in the kitchen shares one PIN. When somebody leaves, change it.
- Nothing stops a member of staff from editing the menu — because they cannot reach the menu at all without your account password.
For a small room where everyone knows everyone, one PIN is honestly enough. If you need to know which server sent which order, MenuMog is not that tool yet.
What you get once orders are flowing
Your dashboard adds up completed orders only — revenue, order count, your top-selling items, a per-venue split and a daily line for the last 30 days, for today, yesterday, the last 7 days, the last 30, or all time. You can export completed orders to CSV from the Orders page if you want them in a spreadsheet.
Deliberately absent: there is no error-rate metric, no speed-to-plate timer and no staff leaderboard. MenuMog knows when an order was placed and when it was completed, and nothing at all about what happened on paper before that.
What it costs
Nothing, right now. MenuMog is free while it is young — no credit card, no trial clock. The ordering system is marked PRO on the pricing page because it will eventually sit in a paid tier; today it is switched on for everyone.
If you want the kitchen half in more detail, the kitchen display setup guide covers mounting, brightness and what to check when the board looks stuck. Otherwise: build the menu, make the venue, run one test order, and you are done.
Share this article
Ready to create your digital menu?
Join restaurants and cafes using MenuMog for QR menus, ordering, and more.
Get started free